Understanding TTFB: Why Lower TTFB Isn’t Always Better

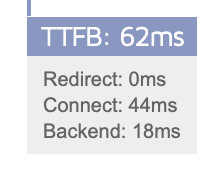
TTFB: 62ms

Time to First Byte (TTFB) is a metric used to measure the responsiveness of a web server. It is the time taken for the server to send the first byte of data to the client. While a lower TTFB is generally desirable, it’s not always the best indicator of overall website performance. In this blog post, we will explore the relationship between TTFB and PHP output buffering, and discuss how optimizing for a low TTFB can sometimes be misleading.

TTFB and PHP Output Buffering

TTFB can be influenced by various factors, such as network latency, server processing time, and PHP output buffering. PHP output buffering is a technique where the server buffers the output of a script before sending it to the client. This can help improve performance by allowing the server to send larger chunks of data at once, rather than sending small bits of data as they become available. Additionally, output buffering can be beneficial when running a site built with plugins from various developers, such as is common with WordPress. In these situations, different plugins may send headers at different times, and without output buffering, this can cause errors as the server is only allowed to return response headers once.

However, focusing on a low TTFB can lead to a false sense of optimization. For example, you can artificially deflate TTFB by sending a single byte of data immediately before doing any significant processing and flushing the output buffer. This will result in a lower TTFB, but the overall load time for the user remains the same. In other words, a low TTFB doesn’t always equate to a better user experience.

Continue reading “Understanding TTFB: Why Lower TTFB Isn’t Always Better”
MDDHosting ObjectCache – Memcached and Redis Manager Updated

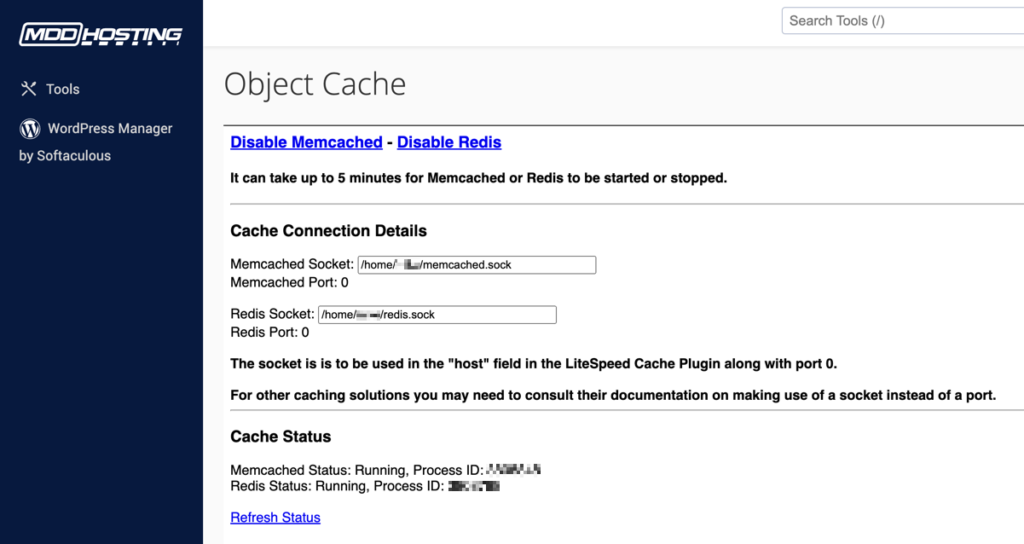
MDDHosting ObjectCache Memcached and Redis Manager

We are thrilled to announce the latest updates to our Object Cache cPanel Plugin that will help you manage Memcached and Redis more efficiently. We made management of these services even more straightforward and user-friendly.

Here’s a quick rundown of the new features:

Status Indicator: The status of the plugin is now indicated with a colored circle – green for running, yellow for starting or stopping, and red for stopped. This change will help you quickly identify the status of the plugin at a glance, without the need to check logs or other indicators.

Refresh Status Button: We have updated the “Refresh Status” link to a blue button. This change makes it more apparent that this button refreshes the status of the plugin and enables you to check for updates quickly.

Enable/Disable Button: The Enable/Disable links have been converted to buttons that are green for Enable and red for Disable. This change makes it more intuitive to turn on or off the plugin, and it also makes it easier to identify the current status. We debated between green to start, or green to show it’s already running on the buttons – let us know your thoughts!

Improved Text Display: We have made the text boxes for the socket display in a monospace font and bold. This change makes it easier to read.

Live Start/Stop Timer: We added a live timer until the next start/stop process for Memcached and Redis. The timer provides real-time information on when the services will start or stop next. This is especially useful when you need to make sure that the services are up and running before you begin working.

These updates are now live and available for use. We believe that these improvements will help our users manage Memcached and Redis more efficiently, saving them time and effort. If you have any feedback or suggestions, we’d love to hear from you!

New WordPress Recommendations – Google Search Console, Caching, XML Sitemaps

WordPress LogoThere are a few resources and plugins that I recommend for any new WordPress powered sites.  When I start a new site one of the first things I want to do is set up the Google Search Console.  You can read more about the Google Search Console on Google’s Support Site.

With the Google Search Console you can do the following and more:

Configuring W3 Total Cache, W3TC, for Optimum Performance with Disk Cache for Shared Hosting – Optimizing WordPress

WordPress LogoIn this article I will be explaining how to configure W3 Total Cache, hereafter referred to as ‘W3TC’, to cache your site and to serve that cache statically via mod_rewrite for maximum performance.

You will need to install W3TC via your “wp-admin” -> “Plugins” -> “Add New” if it is not already installed.  One the installation is complete you will want to activate the plugin.  Once activated you can click on “Performance” in the left navigation of your “wp-admin”.  This will drop you at a dashboard where W3TC is trying to sell all kinds of upgrades.  I will not be discussing those upgrades in this article.

Continue reading “Configuring W3 Total Cache, W3TC, for Optimum Performance with Disk Cache for Shared Hosting – Optimizing WordPress”